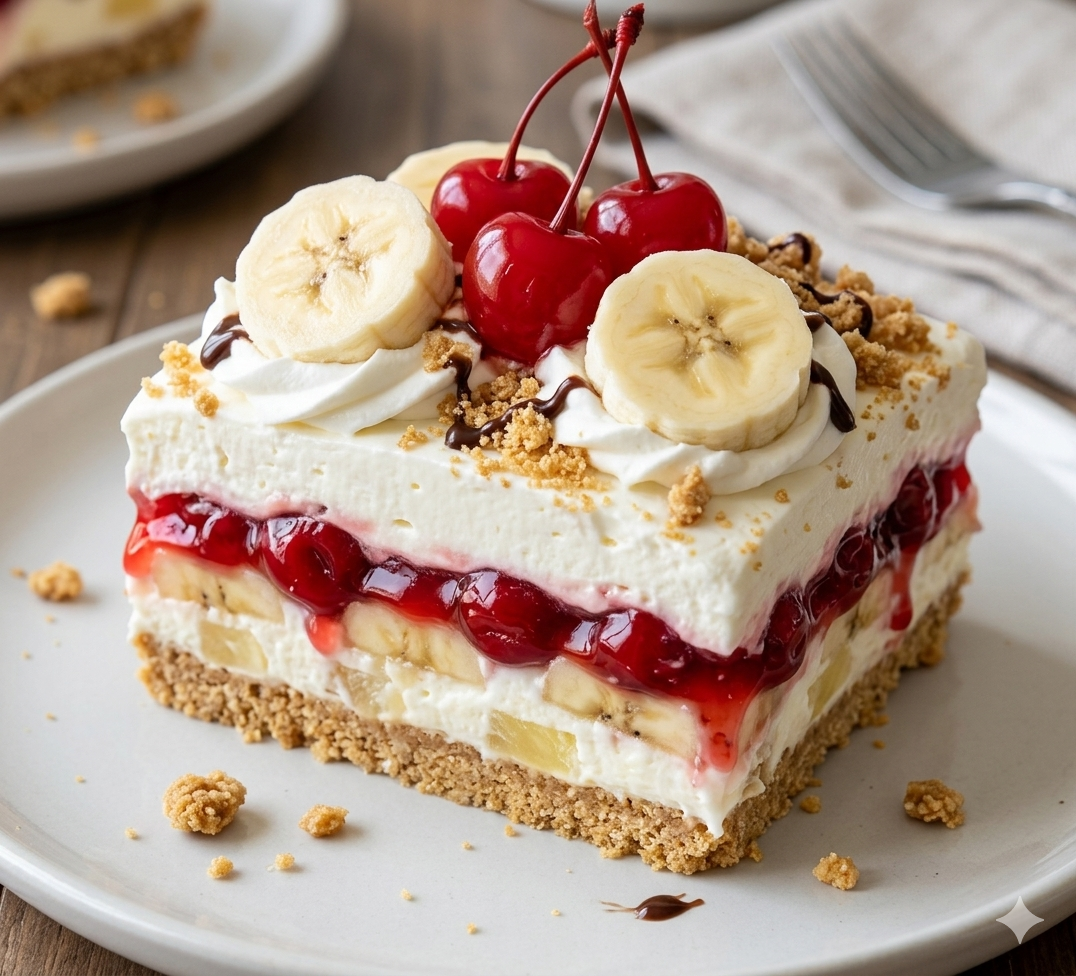
Ingredients
Method
- Combine crumbs and butter; press into a 9x13 dish. Freeze for 10 mins.
- Beat cream cheese, sugar, and vanilla until smooth. Spread over crust.
- Layer sliced bananas over the cream cheese layer.
- Spread drained pineapple over bananas.
- Top with whipped topping.
- Sprinkle with nuts, drizzle with syrup, and add cherries.
- Refrigerate for 4+ hours before serving.
Notes
Master the "Dry Fruit" Technique: The biggest secret to a stable cake is removing excess moisture. Pat your banana slices dry with a paper towel and squeeze the crushed pineapple in a fine-mesh strainer or clean kitchen towel until it is nearly dry to prevent a soggy crust.
Temperature Matters: Never try to beat cold cream cheese, as it will result in a lumpy filling. Let your cream cheese sit at room temperature for at least two hours until it is completely softened for that velvet-smooth texture.
The "Clean Cut" Secret: For professional-looking squares like the ones in your photos, dip your knife in warm water and wipe it clean after every single cut. This keeps the layers distinct and prevents the whipped topping from smearing into the fruit.
Maintain the Crunch: If you are making this ahead of time for a party, wait to add the chopped walnuts until right before serving. This ensures the nuts stay perfectly crunchy and don't soften from the moisture in the refrigerator.
Artistic Drizzling: When applying the chocolate syrup, use quick, diagonal motions across the entire pan. This "bakery-style" finish makes the dessert look incredibly appetizing and highly "pinnable" for Pinterest.