The Best Fluffy Pancakes recipe you will fall in love with. Full of tips and tricks to help you make the best pancakes.
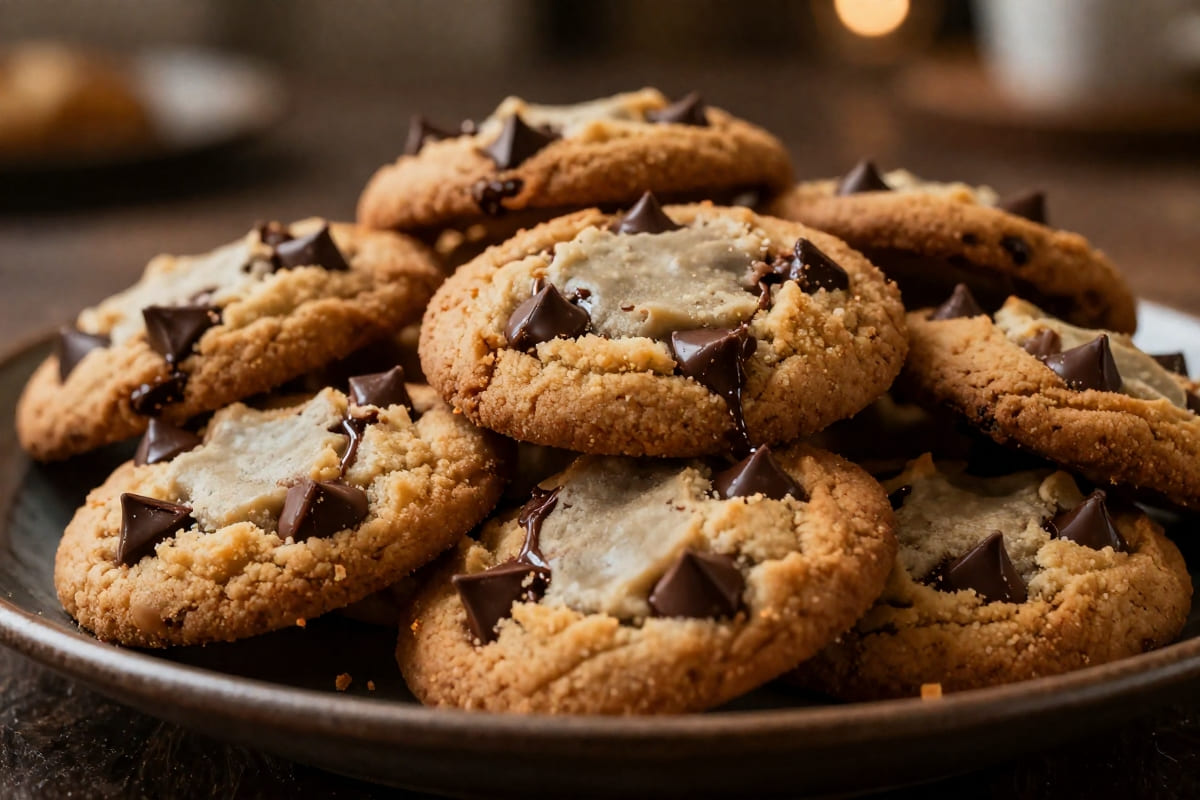
Nothing beats a warm, chewy chocolate chip cookie straight from the oven. If you’ve ever wondered why homemade cookies often fall flat compared to those from high-end bakeries, it usually comes down to three things: temperature, patience, and the right sugar ratio.
In this recipe, we’re using a combination of brown and white sugars to achieve that perfect balance of a crispy, caramelized edge and a soft, melt-in-your-mouth center. I’ve also included an extra egg yolk, which is my “secret weapon” for adding a rich, dense, and ultra-chewy texture that will have everyone reaching for seconds.
I remember the first time I baked these; the whole house smelled like a cozy cafe, and I knew I wouldn’t be buying bakery cookies ever again
Why you’ll love this recipe:
No Mixer Needed: You can easily mix this by hand if you don’t have an electric mixer.
Bakery Aesthetic: They come out thick, perfectly round, and loaded with pools of chocolate.
Freezer Friendly: The dough freezes beautifully, so you can have fresh cookies ready in minutes whenever a craving hits.
The Science of the “Chewy-Crispy” Ratio
The secret to the perfect cookie isn’t just luck; it’s chemistry. We use a strategic blend of brown and white sugar to control the texture.
White Sugar: Essential for those gorgeous, caramelized, crispy edges. It promotes spreading and creates a thin, sugar-glass crust.
Brown Sugar: This is your best friend for chewiness. The molasses content adds moisture and a subtle caramel flavor that prevents the cookie from drying out.
By balancing these two, we achieve a cookie that is crisp on the outside but stays soft and gooey in the center for days.
Why Chilling Your Dough Is Not Optional
I know it’s tempting to skip the chill time and head straight to the oven, but if you want that professional result, don’t skip it. When you chill the dough, the fat (butter) solidifies. As the cookies bake, the butter takes longer to melt, which prevents the cookies from spreading too thin or becoming greasy. Furthermore, chilling allows the flour to fully hydrate, which deepens the flavor profile—giving you a complex, “toasted” taste rather than just “sugary dough.”
The “Bakery-Look” Technique
Ever wonder why bakery cookies look so perfectly round and loaded with chocolate? It’s all about these two pro moves:
The Scoop: Always use a cookie scoop. Uniform balls of dough mean uniform baking. If one cookie is smaller than the others, it will overbake and turn dry before the rest are done.
The “Scoot”: Immediately after pulling your tray out of the oven, take a circular glass or cookie cutter that is slightly larger than the cookie. Place it over the cookie and gently move it in a circular motion. This “scooting” technique pulls the edges in, creating that perfectly round, thick, and professional bakery shape.
Common Mistakes to Avoid
Don’t let these common pitfalls ruin your bake:
Over-mixing: Once you add the dry ingredients, mix only until the flour streaks disappear. Over-mixing develops gluten, which will turn your tender cookies tough.
The “Room Temp” Rule: Your butter should be soft enough to leave a small indent when pressed, but not oily or melted. If your butter is melted, your cookies will spread into a thin, crispy pancake.
The “Under-bake” Secret: Your cookies should look slightly underdone in the center when you pull them out. They will continue to “carry-over cook” on the hot baking sheet for 5 minutes. This is how you lock in that soft, chewy center.
Frequently Asked Questions (FAQ)
Can I freeze this cookie dough? Absolutely! In fact, freezing the dough balls actually improves the flavor. You can store them in an airtight container for up to 3 months. Bake them directly from frozen by adding 1–2 minutes to the bake time.
Why did my cookies spread too much? Usually, this is caused by butter that was too warm or a baking sheet that was too hot (never put dough on a warm pan!). Make sure your pans are cool between batches.
Can I use milk chocolate instead of dark? Yes, but keep in mind that milk chocolate is much sweeter. If you use it, you may want to increase the salt in the recipe slightly to balance the sweetness.
What is the best way to get those “pools” of melted chocolate on top? If you want that “Instagram-worthy” look where the chocolate is visible on the surface, reserve a small handful of chocolate chips or chunks. After you scoop your dough balls onto the baking sheet, press those extra chips firmly into the top of the dough. This ensures they stay visible and perfectly melted on the surface while the rest of the chocolate is hidden inside the dough.
My cookies are always too hard the next day. How can I keep them soft? The secret is a simple pantry staple: a slice of bread. Store your cooled cookies in an airtight container with a small slice of white bread. The cookies will absorb the moisture from the bread, keeping them soft and chewy for days. You’ll be surprised at how well this works—the bread will become hard as a rock, and your cookies will stay perfectly soft!
The Best Bakery-Style Chocolate Chip Cookies
Craving the perfect bakery-style chocolate chip cookie? This recipe delivers the ultimate experience: crispy, golden edges with an irresistibly soft, chewy center. Packed with decadent chocolate chips and a secret touch of sea salt, these cookies are incredibly easy to make at home and guaranteed to be a crowd-pleaser. Get ready to bake your new favorite treat!
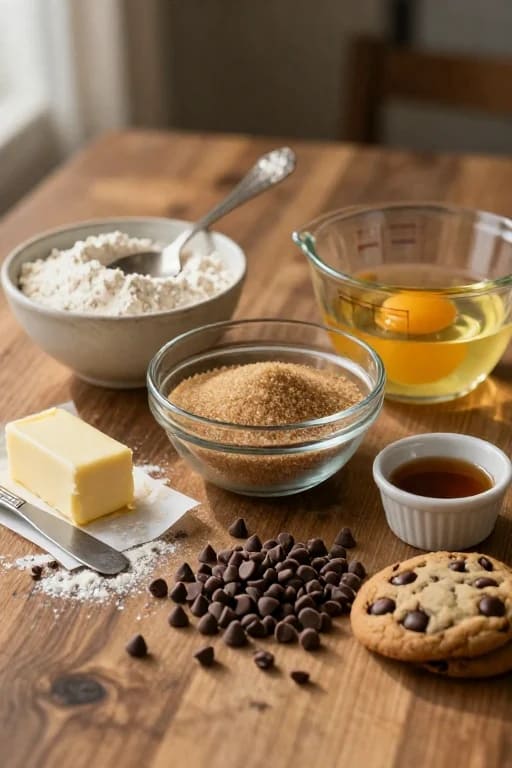
Ingredients
Method
- Start with the base: In a large bowl, cream together the softened butter with the brown and white sugars. Don't rush this part—really beat them until the mixture is light and fluffy. This is where the magic happens and creates that perfect texture!
- Add the liquids: Mix in the egg, that extra egg yolk, and the pure vanilla extract. Keep beating until everything is smooth and well-combined.
- Bring it together: Gradually fold in your flour, baking soda, and salt. Gently mix it all together just until the flour streaks disappear. Take care not to overmix here; we want tender cookies, not tough ones!
- The chocolate love: Gently fold in those chocolate chips. I like to make sure they're evenly distributed throughout the dough.
- Patience is key: Cover your bowl and pop the dough in the fridge for at least 1 hour. I know it’s hard to wait, but this chilling time is the real secret to bakery-style cookies that don't spread too much.
- Get ready to bake: Preheat your oven to 350°F (175°C). Scoop the dough into rounded balls and place them on your parchment-lined baking sheet, giving them a little room to breathe.
- The golden touch: Bake for 10–12 minutes. You want the edges to look set and golden, while the centers might still look a bit soft—that’s exactly how you keep them chewy.
Notes
- Pro Tip: Sprinkle a pinch of flaky sea salt on top immediately after baking.
- Storage: Store in an airtight container for up to 5 days.
- Bakery Secret: For perfectly round cookies, scoot them with a circular glass immediately after removing from the oven.